30ml
DIY
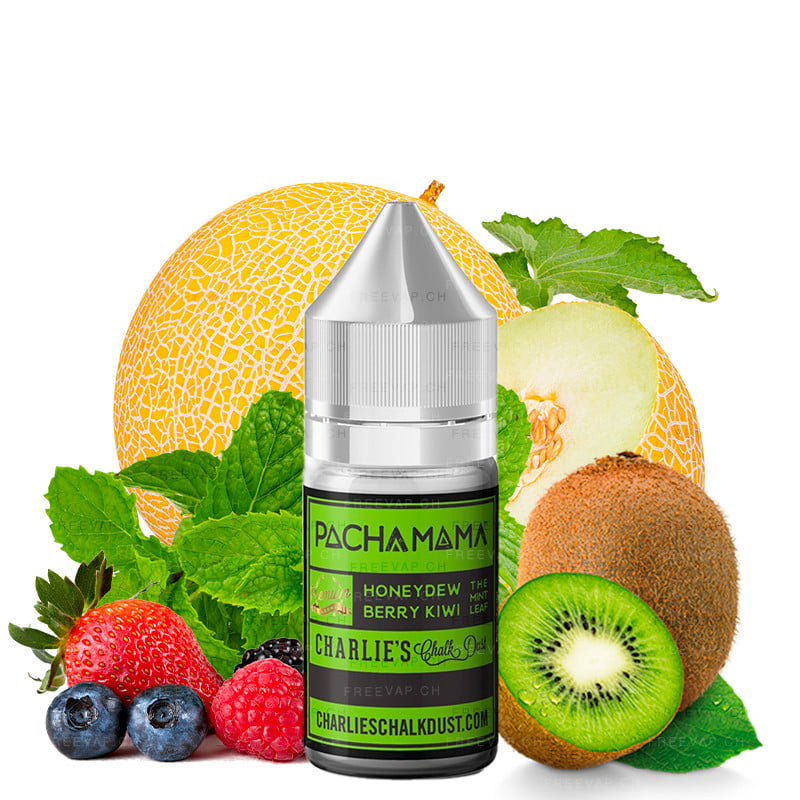
DIY Concentrate The Mint Leaf Honeydew[…] DIY Concentrate The Mint Leaf Honeydew Berry Kiwi -[…]
Regular price
-30%
CHF14.90
Price
CHF10.43
- On sale
- Clearance
Regular price
-30%
CHF14.90
Price
CHF10.43
In stock
30ml
DIY
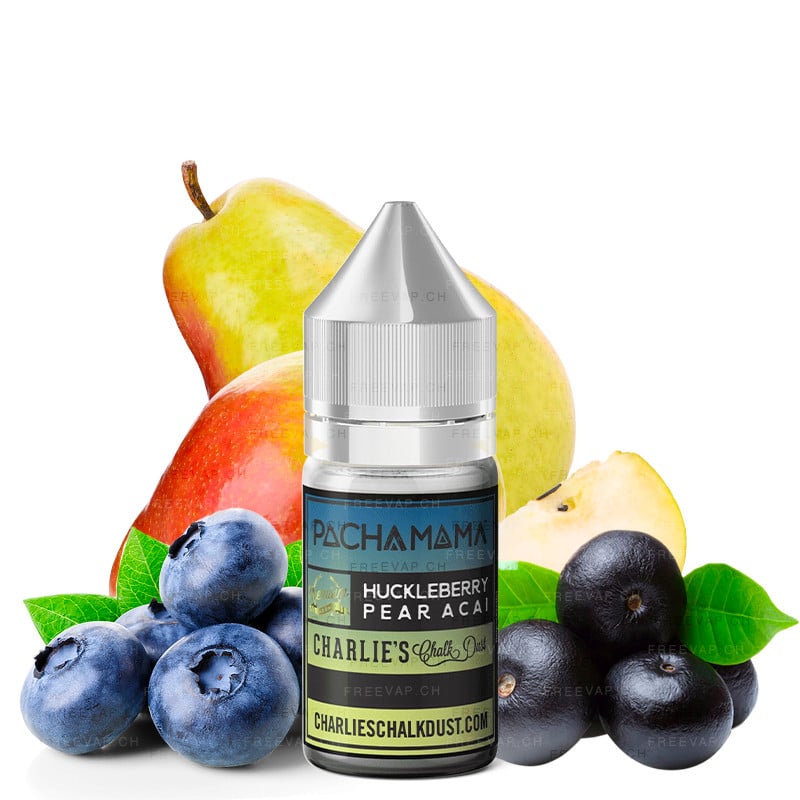
DIY Concentrate Huckleberry Pear Acai -[…] DIY Concentrate Huckleberry Pear Acai - Pachamama |[…]
Regular price
-30%
CHF14.90
Price
CHF10.43
- On sale
- Clearance
Regular price
-30%
CHF14.90
Price
CHF10.43
In stock
30ml
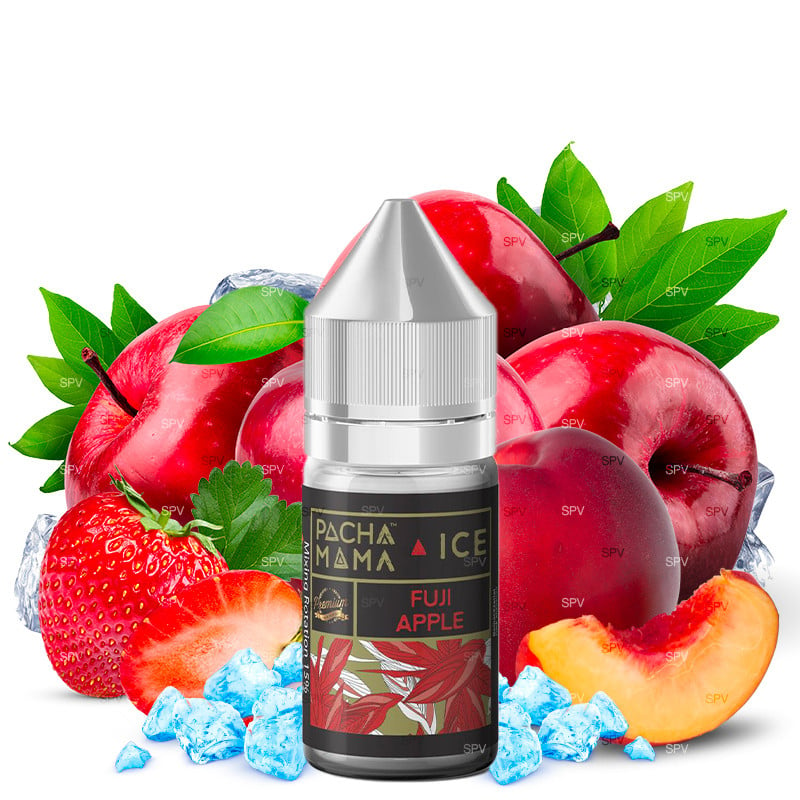
DIY Concentrate Fuji Apple - Pachamama | 30ml DIY Concentrate Fuji Apple - Pachamama | 30ml
Regular price
-30%
CHF14.90
Price
CHF10.43
- On sale
- Clearance
Regular price
-30%
CHF14.90
Price
CHF10.43
In stock
30ml
DIY
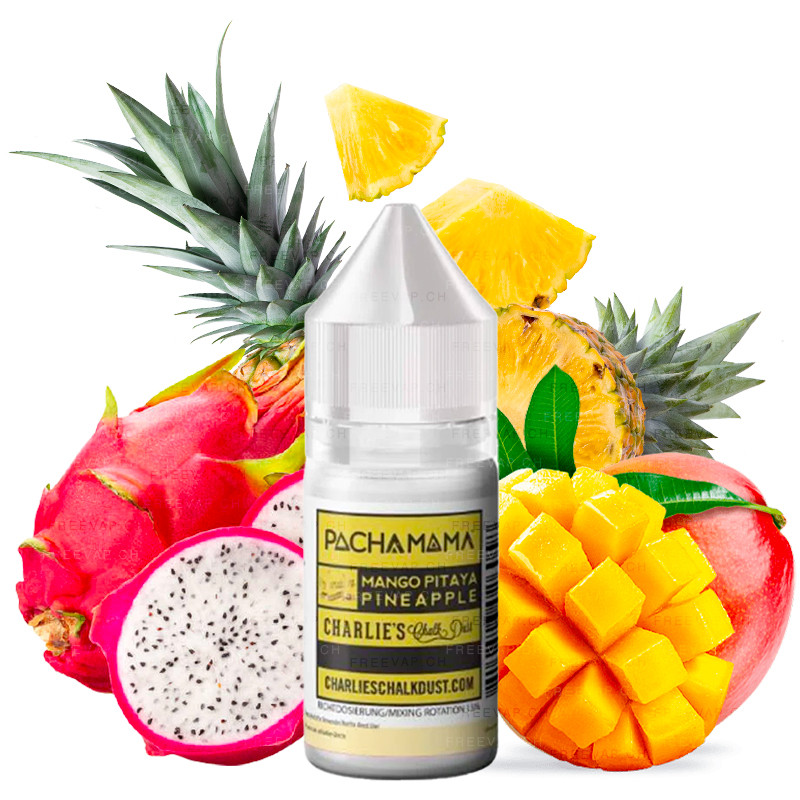
DIY Concentrate Mango Pitaya Pineapple -[…] DIY Concentrate Mango Pitaya Pineapple - Pachamama |[…]
Regular price
-30%
CHF14.90
Price
CHF10.43
- On sale
- Clearance
Regular price
-30%
CHF14.90
Price
CHF10.43
In stock
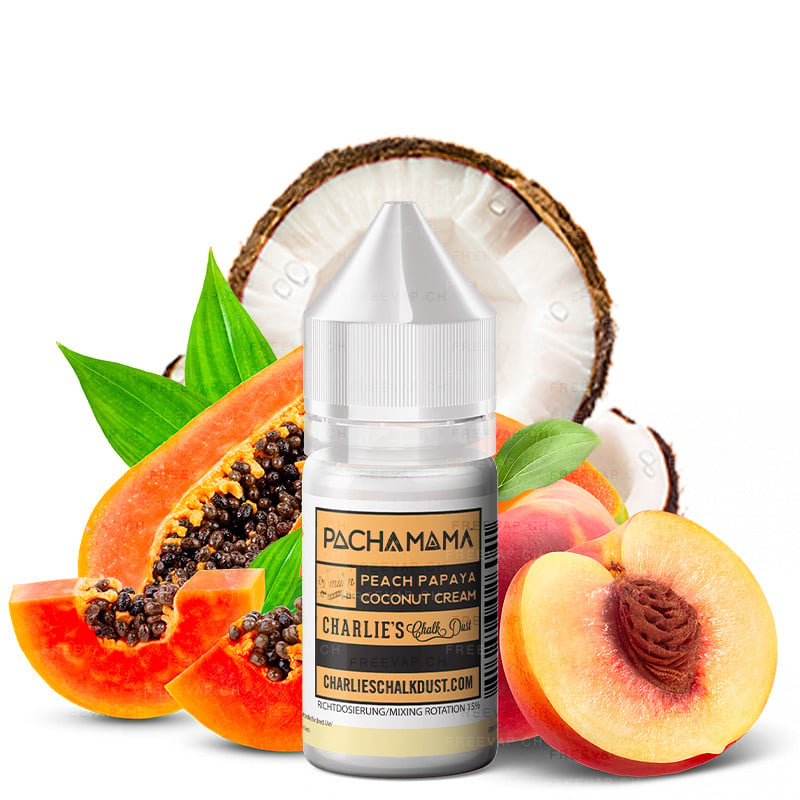
30ml
DIY
DIY Concentrate Peach Papaya Coconut Cream[…] DIY Concentrate Peach Papaya Coconut Cream -[…]
Regular price
-30%
CHF14.90
Price
CHF10.43
- On sale
- Clearance
Regular price
-30%
CHF14.90
Price
CHF10.43
In stock
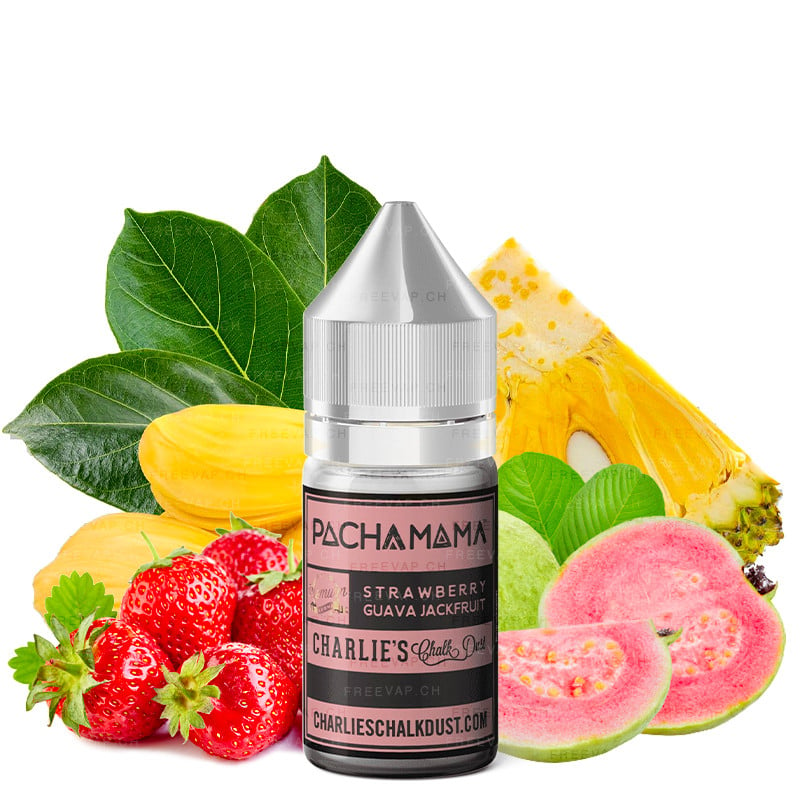
30ml
DIY
DIY Concentrate Strawberry Guava Jackfruit[…] DIY Concentrate Strawberry Guava Jackfruit -[…]
Regular price
-30%
CHF14.90
Price
CHF10.43
- On sale
- Clearance
Regular price
-30%
CHF14.90
Price
CHF10.43
In stock

30ml
DIY
DIY Concentrate Fuji Strawberry Apple[…] DIY Concentrate Fuji Strawberry Apple Nectarine -[…]
Price
CHF14.90
Price
CHF14.90
In stock
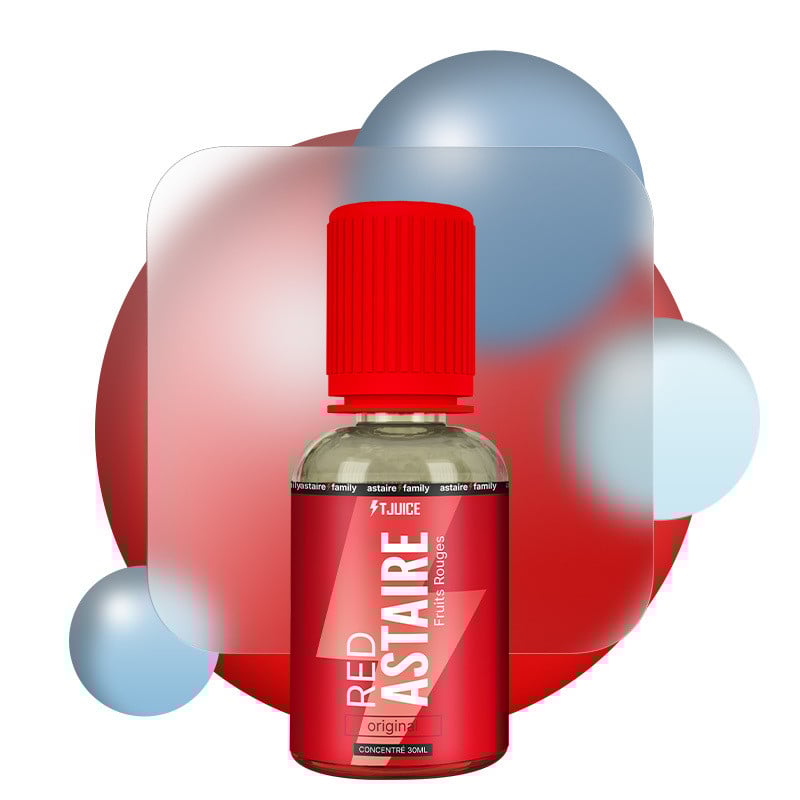
30ml
DIY
DIY Concentrate Red Astaire - Astaire[…] DIY Concentrate Red Astaire - Astaire Family by[…]
Price
CHF13.90
Price
CHF13.90
In stock
Price
CHF6.90
In stock
10ml
DIY
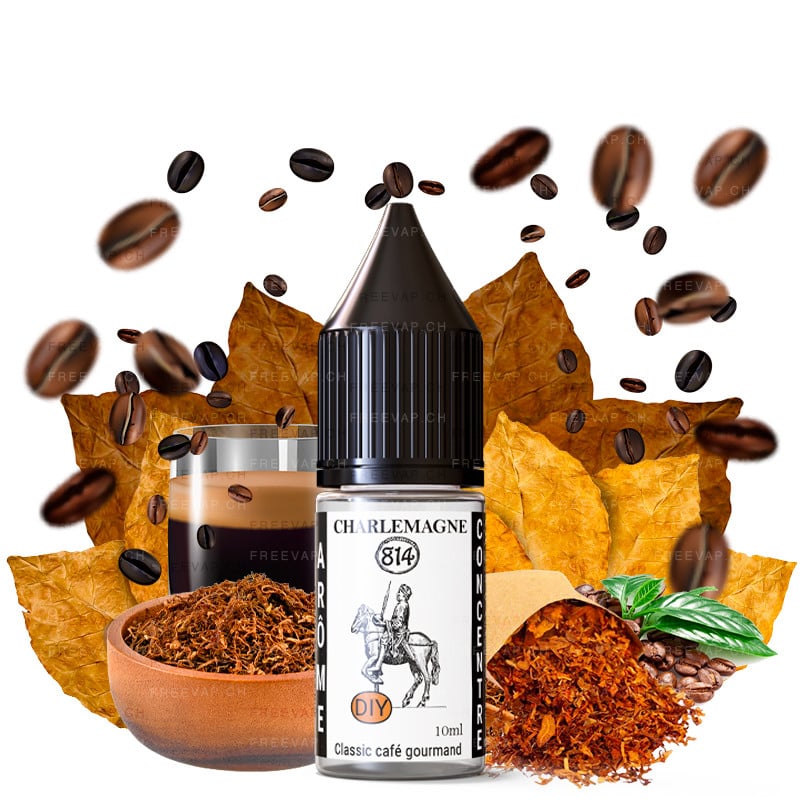
DIY Concentrate Charlemagne - 814 | 10ml DIY Concentrate Charlemagne - 814 | 10ml
Price
CHF6.90
Price
CHF6.90
In stock
10ml
DIY
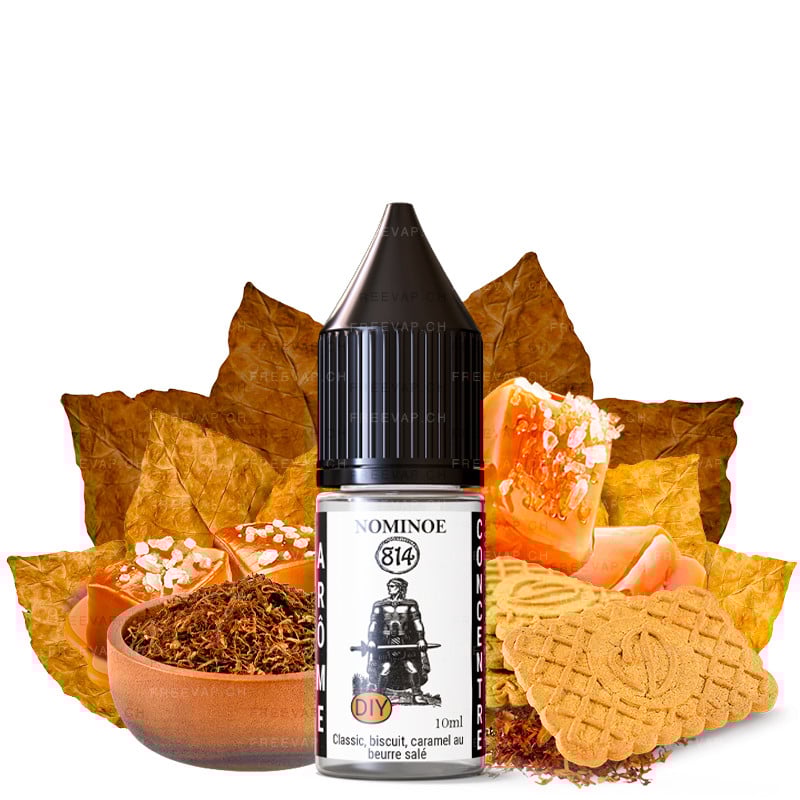
DIY Concentrate Nominoe - 814 | 10ml DIY Concentrate Nominoe - 814 | 10ml
Regular price
-30%
CHF6.90
Price
CHF4.83
- On sale
- Clearance
Regular price
-30%
CHF6.90
Price
CHF4.83
In stock
30ml
DIY
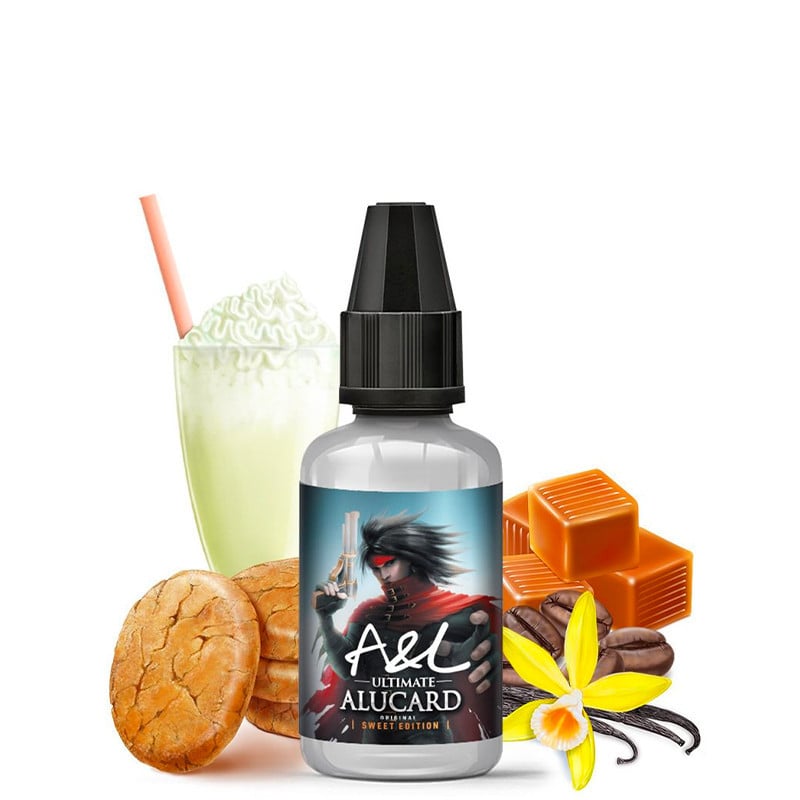
DIY Concentrate Alucard - Ultimate A&L | 30ml DIY Concentrate Alucard - Ultimate A&L | 30ml
Price
CHF14.90
Price
CHF14.90
In stock
30ml
DIY
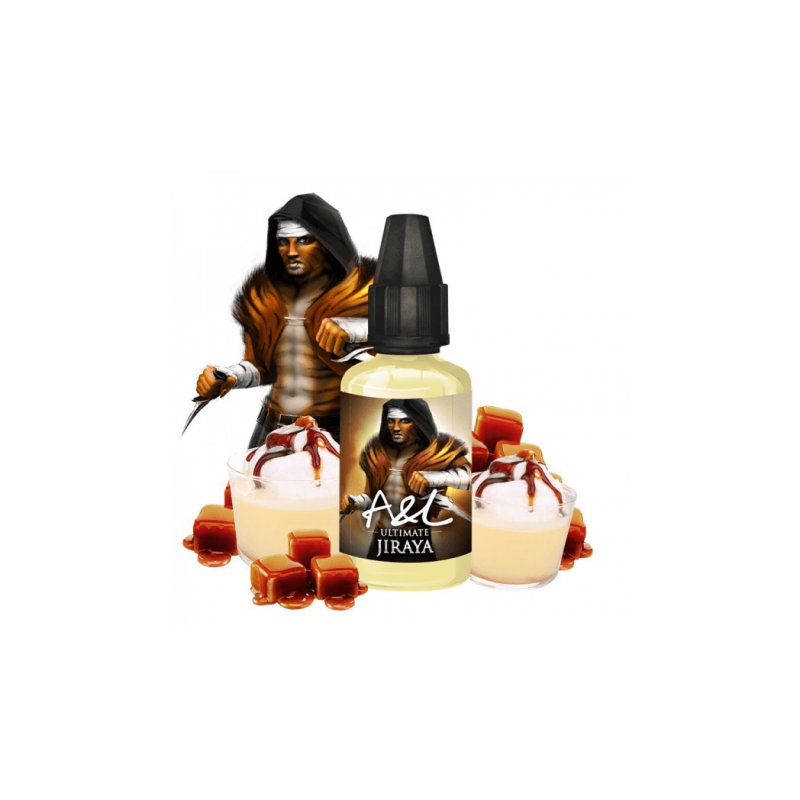
DIY Concentrate Jiraya - Sweet Edition -[…] DIY Concentrate Jiraya - Sweet Edition - Ultimate[…]
Price
CHF14.90
Price
CHF14.90
In stock
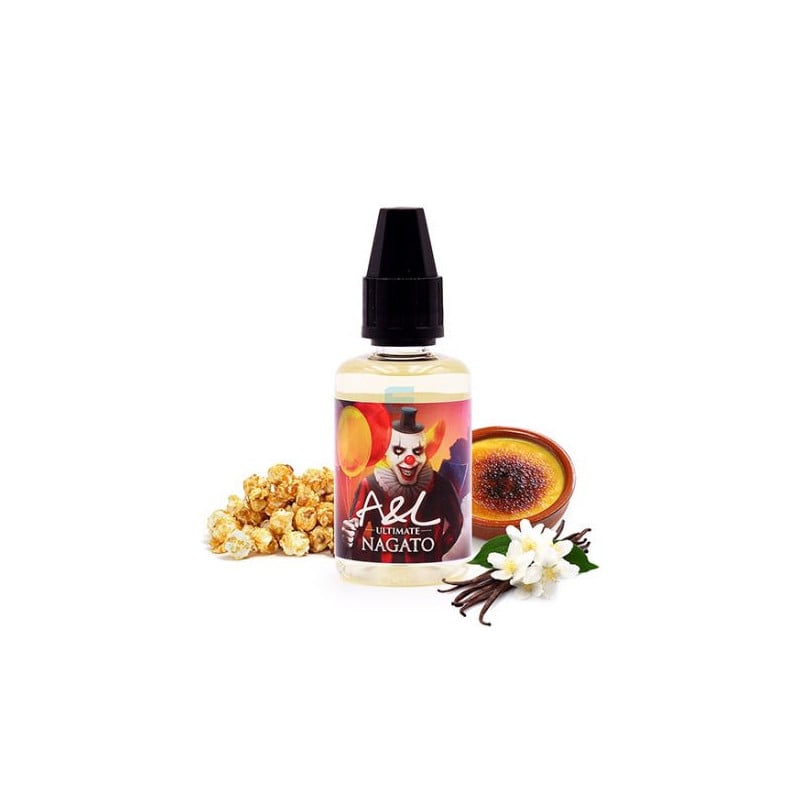
30ml
DIY
DIY Concentrate Nagato - Sweet Edition -[…] DIY Concentrate Nagato - Sweet Edition - Ultimate[…]
Price
CHF14.90
Price
CHF14.90
In stock
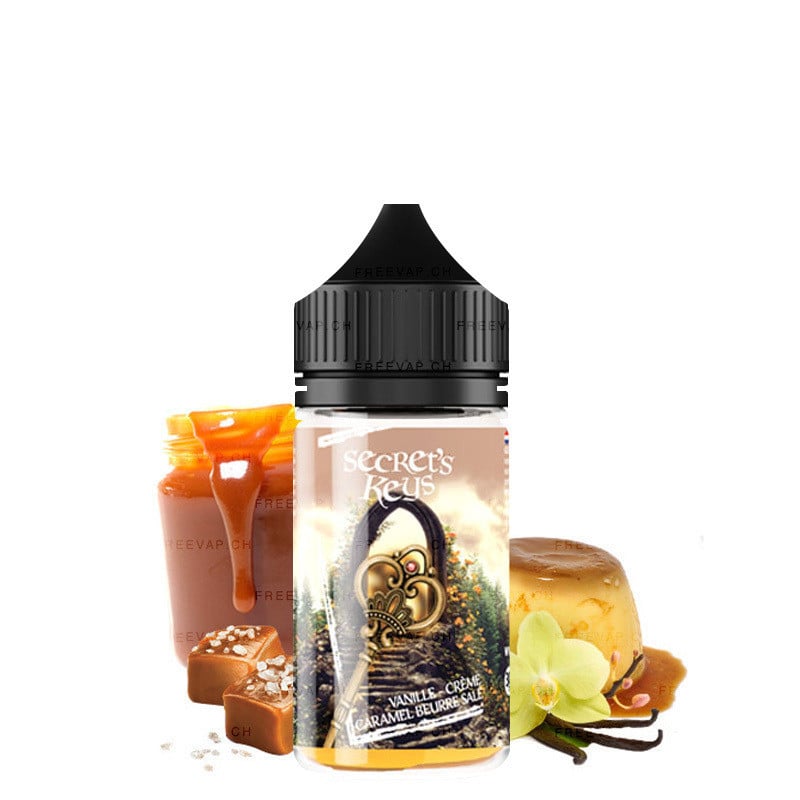
30ml
DIY
DIY Concentrate Golden Key - Secret's Keys[…] DIY Concentrate Golden Key - Secret's Keys by[…]
Price
CHF13.90
Price
CHF13.90
In stock
Price
CHF6.30
In stock
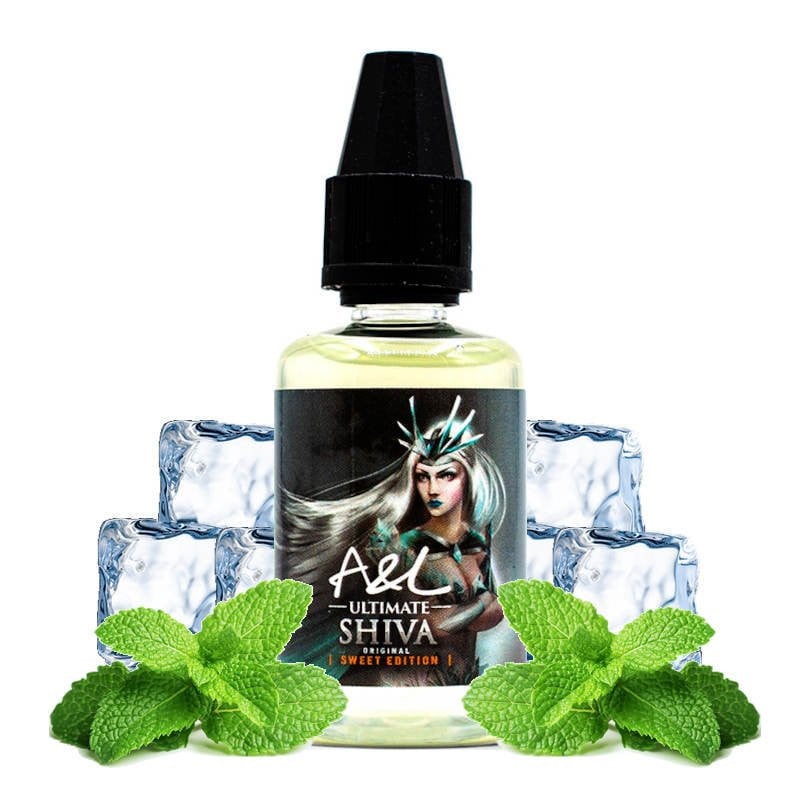
30ml
DIY
DIY Concentrate Shiva - Ultimate A&L | 30ml DIY Concentrate Shiva - Ultimate A&L | 30ml
Price
CHF14.90
Price
CHF14.90
In stock
Price
CHF5.90
In stock

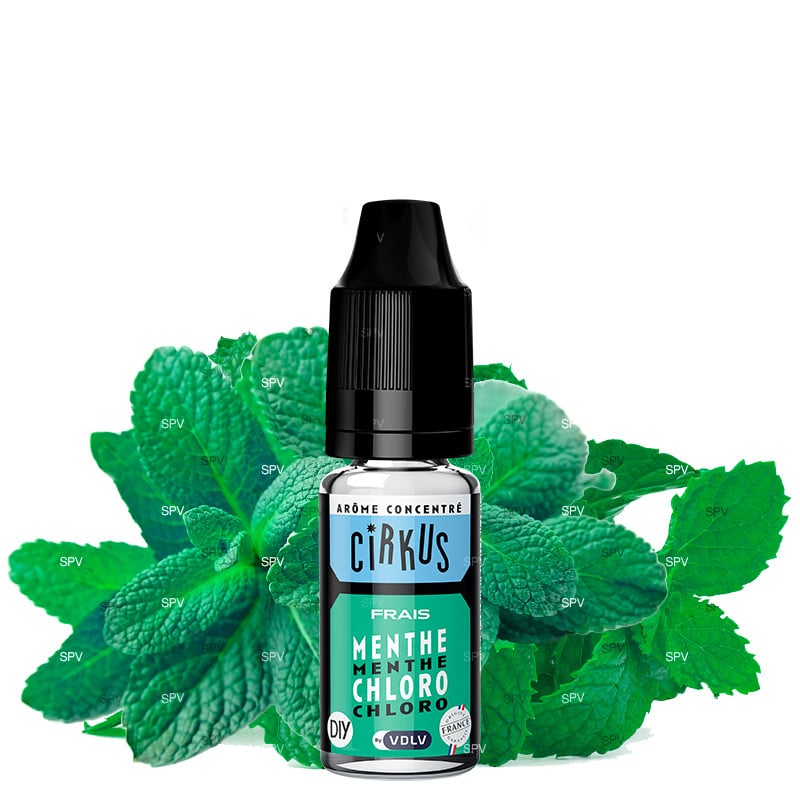
10ml
DIY
DIY Concentrate - Classical Menthol -[…] DIY Concentrate - Classical Menthol - CirKus[…]
Price
CHF5.90
Price
CHF5.90
In stock

Price
CHF5.90
In stock
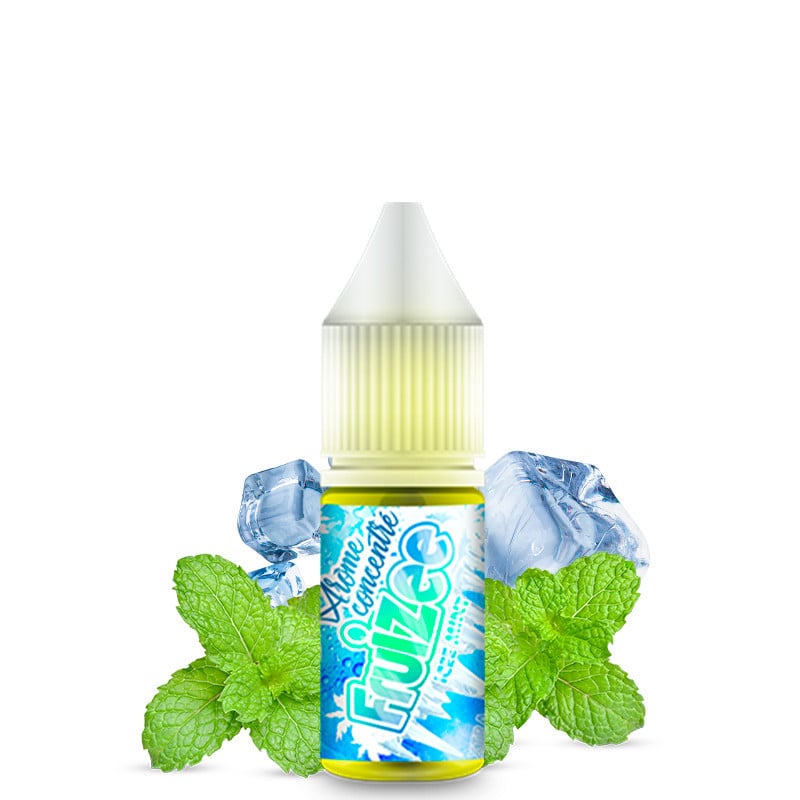
10ml
DIY
DIY Concentrate Icee Mint - Fruizee | 10ml DIY Concentrate Icee Mint - Fruizee | 10ml
Price
CHF5.90
Price
CHF5.90
In stock
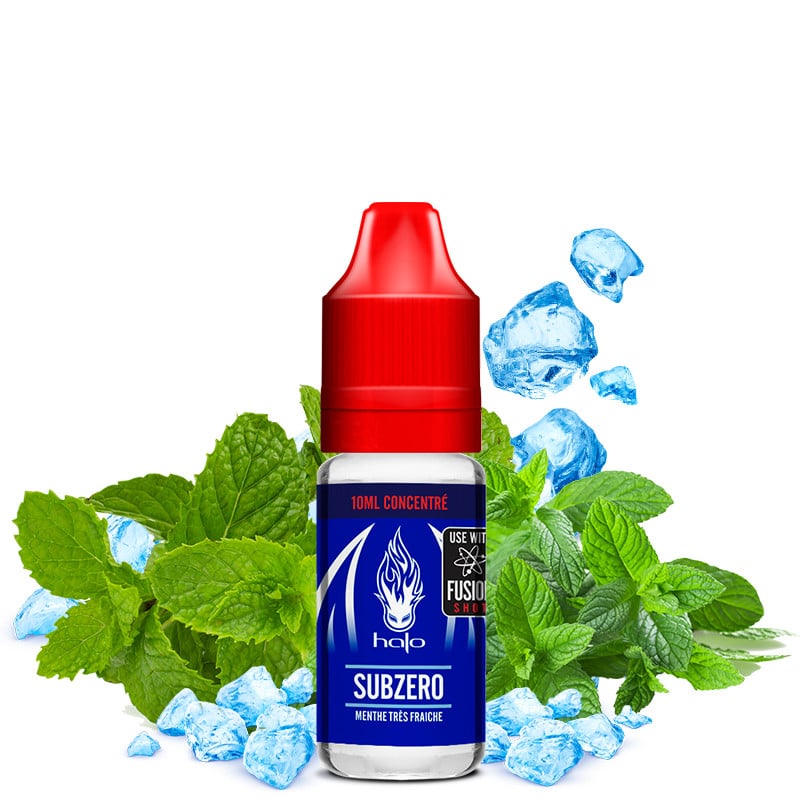
10ml
DIY
Concentrate DIY - Sub Zéro - Halo DIY | 10ml Concentrate DIY - Sub Zéro - Halo DIY | 10ml
Price
CHF8.50
Price
CHF8.50
In stock
30ml
DIY
DIY Concentrate The Mint Leaf Honeydew[…] DIY Concentrate The Mint Leaf Honeydew Berry Kiwi -[…]
Regular price
-30%
CHF14.90
Price
CHF10.43
- On sale
- Clearance
Regular price
-30%
CHF14.90
Price
CHF10.43
In stock
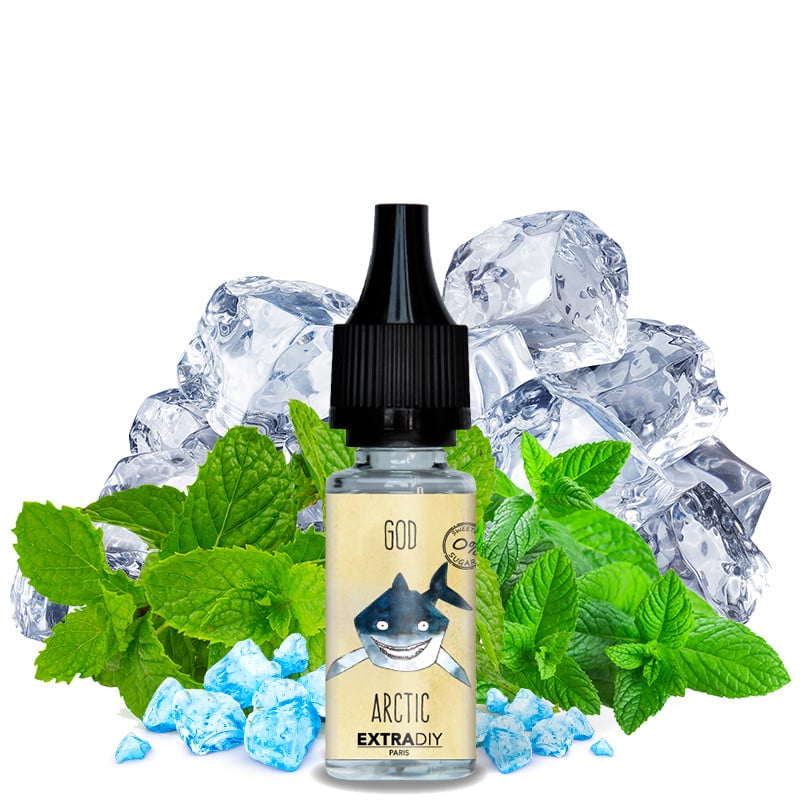
10ml
DIY
Concentrate DIY - God Arctic - ExtraDIY |[…] Concentrate DIY - God Arctic - ExtraDIY | 10ml
Price
CHF4.50
Price
CHF4.50
In stock
Price
CHF6.90
In stock
10ml
DIY
DIY Concentrate Charlemagne - 814 | 10ml DIY Concentrate Charlemagne - 814 | 10ml
Price
CHF6.90
Price
CHF6.90
In stock
10ml
DIY
DIY Concentrate Nominoe - 814 | 10ml DIY Concentrate Nominoe - 814 | 10ml
Regular price
-30%
CHF6.90
Price
CHF4.83
- On sale
- Clearance
Regular price
-30%
CHF6.90
Price
CHF4.83
In stock

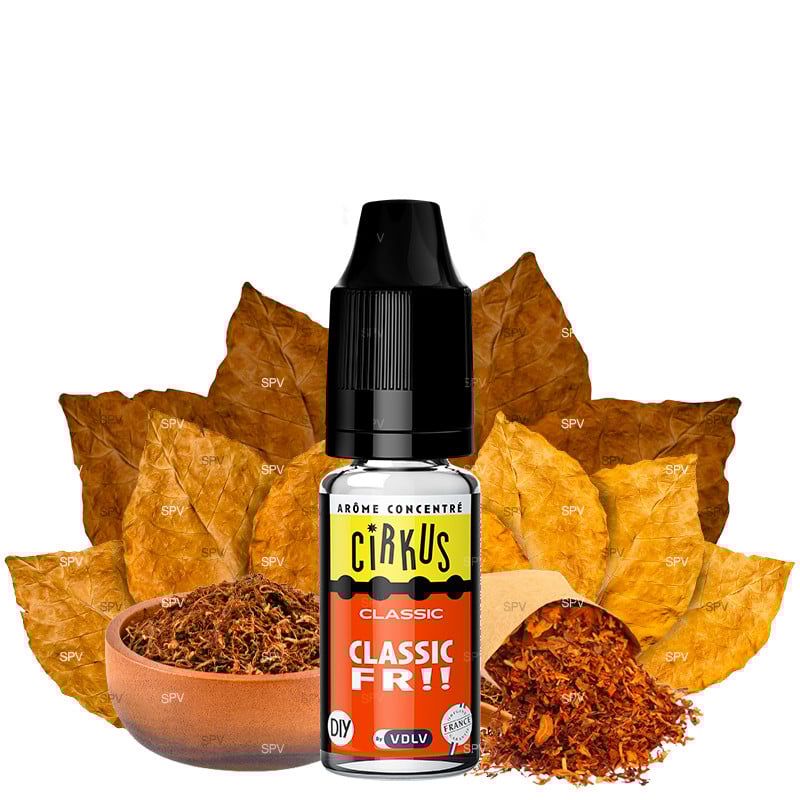
Price
CHF5.90
In stock
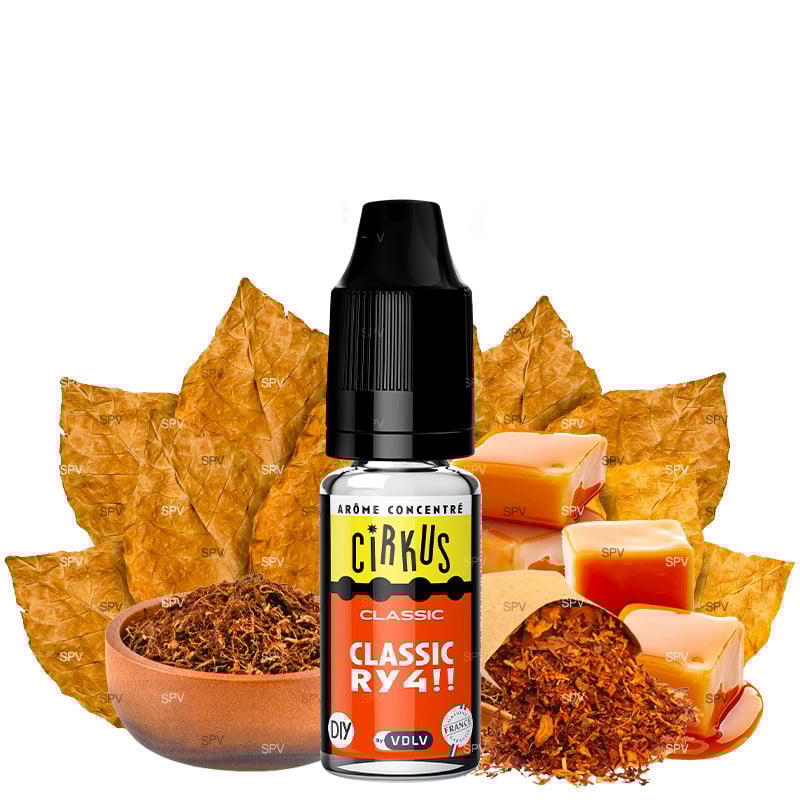
Price
CHF5.90
In stock
10ml
DIY
DIY Concentrate - Classical Menthol -[…] DIY Concentrate - Classical Menthol - CirKus[…]
Price
CHF5.90
Price
CHF5.90
In stock
Price
CHF6.30
In stock
Price
CHF5.90
In stock